Eggbeater cleats to pedal conversion kit
Nothing more pleasant than step away from the traffic, especially away from the rush hour.
Recently I decided to switch my daily commute from a leisurely 15 min drive into a sweating 30 min cycling trip, because I was fed up with the traffic. Besides, the spring has come, the weather turned nice, and the bike lane from my residence to my work is finally paved. The only thing I am missing, is a bicycle.
Luckily, my co-worker kindly offered a bike to me (our company is filled with bike aficionados). It is a beautiful road bike, with ultra-light frame and carbon rim. The drop handle bar is something I have to live with, but it is okay for a short term trial. After I have some quick taste of the ride, I will move on to a road bike of my own.

The only thing I did not like is its eggbeater cleats. I do not have cleat shoes, and even if I have a pair, I will not dare to clip my feet into the bike daily. I had a mountain bike accident 7 years ago that broke both of my arms. Locking my feet into the crank while riding is something I fear to attempt.


Luckily, the co-worker has something special up in his sleeve. He designed a cleat to pedal conversion tool during his free time, because he did not want to wear cleat shoes all the time. This comes in handy immediately.
The idea of the cleat to pedal conversion kit is quite simply. You take off the cleat from your shoe (or buy them online), and bolt onto a flat piece of metal, and voila, you may ride the eggbeater cleat with normal shoes.

The first prototype was made using only 3 mm aluminum plate. I bent the flat pedal after the first ride. I did not realized how much force I press down from my toe. The deformed pedal did not provide enough grip. That is the 1st problem I must address.

The 2nd problem I found is much more interesting: the flat side always stayed at the bottom of the eggbeater, because that side is heavier. When trying to step onto the right surface of the pedal, I rode into a deer (yes, a deer. He/she stood right in the middle of the bike lane and did not get out of the way. )

Apparently, some modifications are needed.
To address the bending problem, the quickest way is to cut the profile out with thicker aluminum pieces.


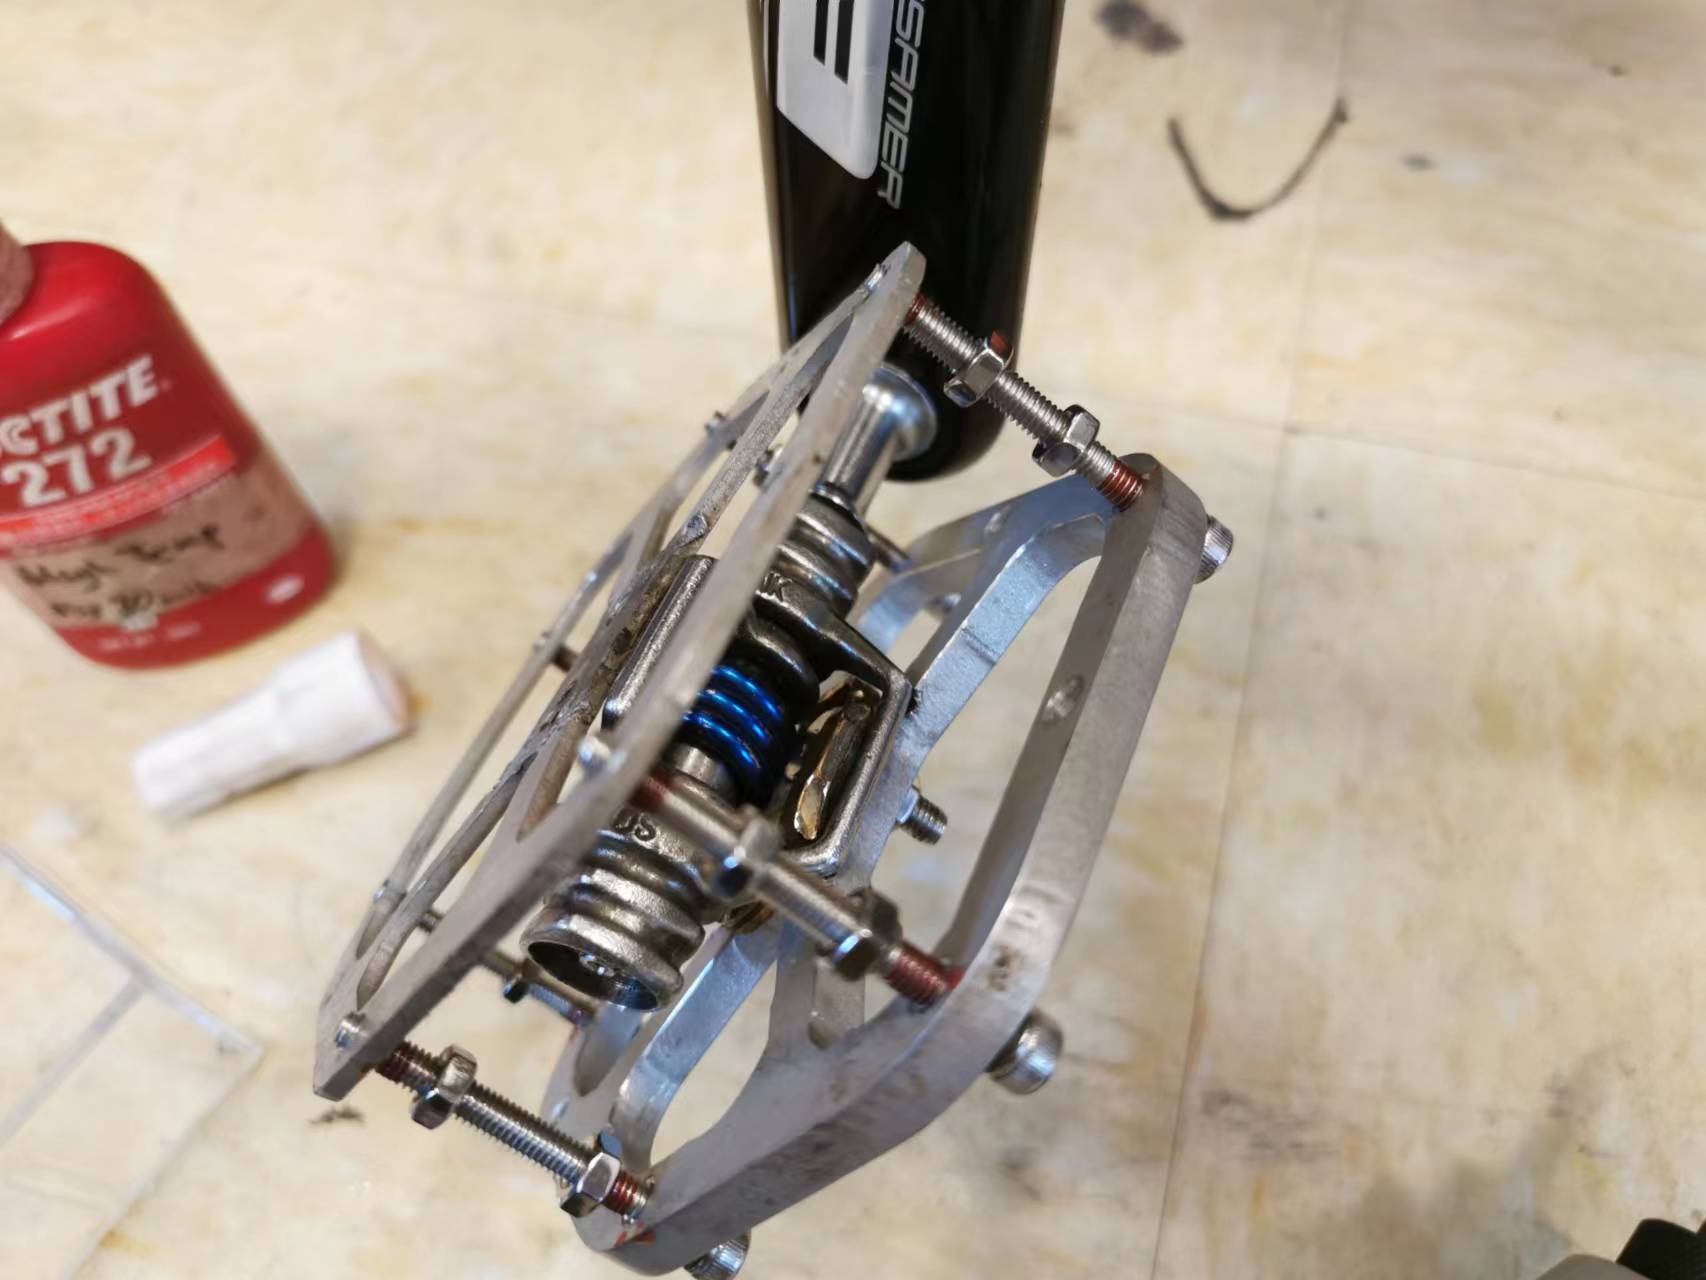
Sometimes thickness along is not enough. I straightened the original pieces and attached them on top of the 6mm pieces. By separating the top and bottom layer, more bending resistance can be achieved without adding too much material (like an I-beam)

Secondly, I need to make sure the flat side stays on the top side of the eggbeater. The 6 mm piece added a lot of weight on one side, and by this time it is even harder to flip the pedal.

Initially I borrowed an idea from other road bike cleat design, thinking if I make the flat surface stays vertically when rest, the problem might be alleviated. This way my toe can quickly index the pedal and a simply forward push and align the pedal quickly.

I remove the top half of the pedal and turned the bottom half into removable weights. This way I can quickly adjust the weight balance.
Or so as I thought because the weights brought no difference. ![]()

Clearly it is an on-going project. I will be thinking about the best way to improve this kit on my daily ride to work.
Please also let me know if you have any ideas!