RC Car Bodies from Sheet metal cut by WAZER
One of the fun of playing with RC cars is the capability to swap car bodies as you wish. Seeing the miniature version of your favorite car zooming round with your control is one of the best joy a petrol head looking forward to, second to driving the real thing.
The best example of swappable car bodies is the Mini-Z system produced by Kyosho. Mini-z is best known as the benchmark brand for RC drift cars, but they are also renowned for their vast catalogue of swappable car bodies. Simply typing “mini-z car bodies” and you will be swamped by all these exquisitely made bodies.

However, all these interchangeable car bodies comes with a price. Moreover, you will be taking extreme care of these pricy bodies. All these will inevitably rob some of the joys.
But what if you can make the bodies by yourself?
Recently I bought a Latrax 1/18 Rally RC car and within the first a few days I crashed the plastic body while practicing drifting in my apartment. So the next logical step for me is to start thinking what might be the steps to fabricate another body for my 1/18 RC car.

Since I am not competing with this 1/18 RC, the weight is not a concern. I can make the body as strong as possible. In the meantime, I better stay away from bodies with a lot of curves and arches, those are very hard to make. It would be better if the body is made of straight edges and flat planes.
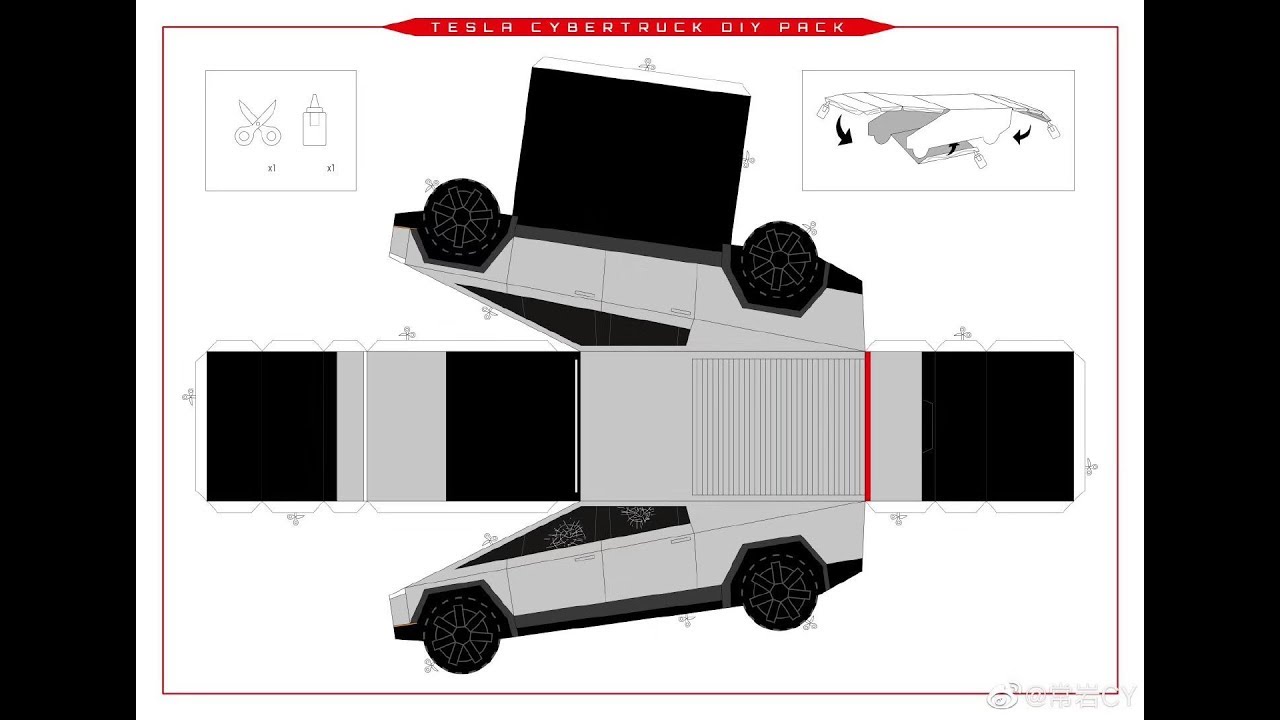
The first thing came into my mind was the Tesla Cybertruck. It is famous (or infamous) for its squarely construction. Someone find it hideous, some may find it attractive, but for me, it is the perfect candidate to go with.

To make things better, there are tons of paper model template online. Anyone who wants to make a paper model Tesla Cybertruck can download the image, print it out and fold it into shape.
Now, if I use sheet metal instead of paper, I reckoned I can make the most reliable (albeit heavy) 1/18 car body. Seeing the futuristic Cybertruck zooming in my apartment would surely be a sight to hold.
Long story short, after several versions of fine turning, I managed to cut the sheet metal in WAZER, bend and spot weld the body together. Just as the real Cybertruck, I used brushed stainless steel for the main body (so I do not need to paint or polish it). To add some icing on the cake, I cut some acrylic pieces and painted them black, to mimic the tainted window of the truck.


And behold, there is the final result.


To be honest, the added weight of the body posed a lot of control challenge. Now the RC car is slow in acceleration and turning. It understeers on the way in and oversteers on the way out.
But hey, it looks cool, no one can deny that!
After the first attempt, I made a red Volve V70 wagon body for my friend, but I would say I might have gotten the wheel base slightly wrong, and the body is carving into the wheels at some places.
But for anyone who drives a V70 in the real world, who would say no to a gift like this?


The next step
As for me, the tesla Cybertruck is just a starter. I drive a SAAB as my daily commute, it would be really great to see if I can turn this iconic SAAB 900 into a 1/18 body.


As usual, the stainless steel is the material of choice. I have cut out all the body parts. Next step would be to spot weld them. I got say, there are a lot of bending and welding, I really hope I can get this right.
Let’s see, and fingers crossed.

 )
)